Accessing Immich on iOS
This guide shows you how to set up and use the Immich app on your iPhone or iPad.
Installation
- Download the Immich app from the App Store
Part 1: Setting Up the App
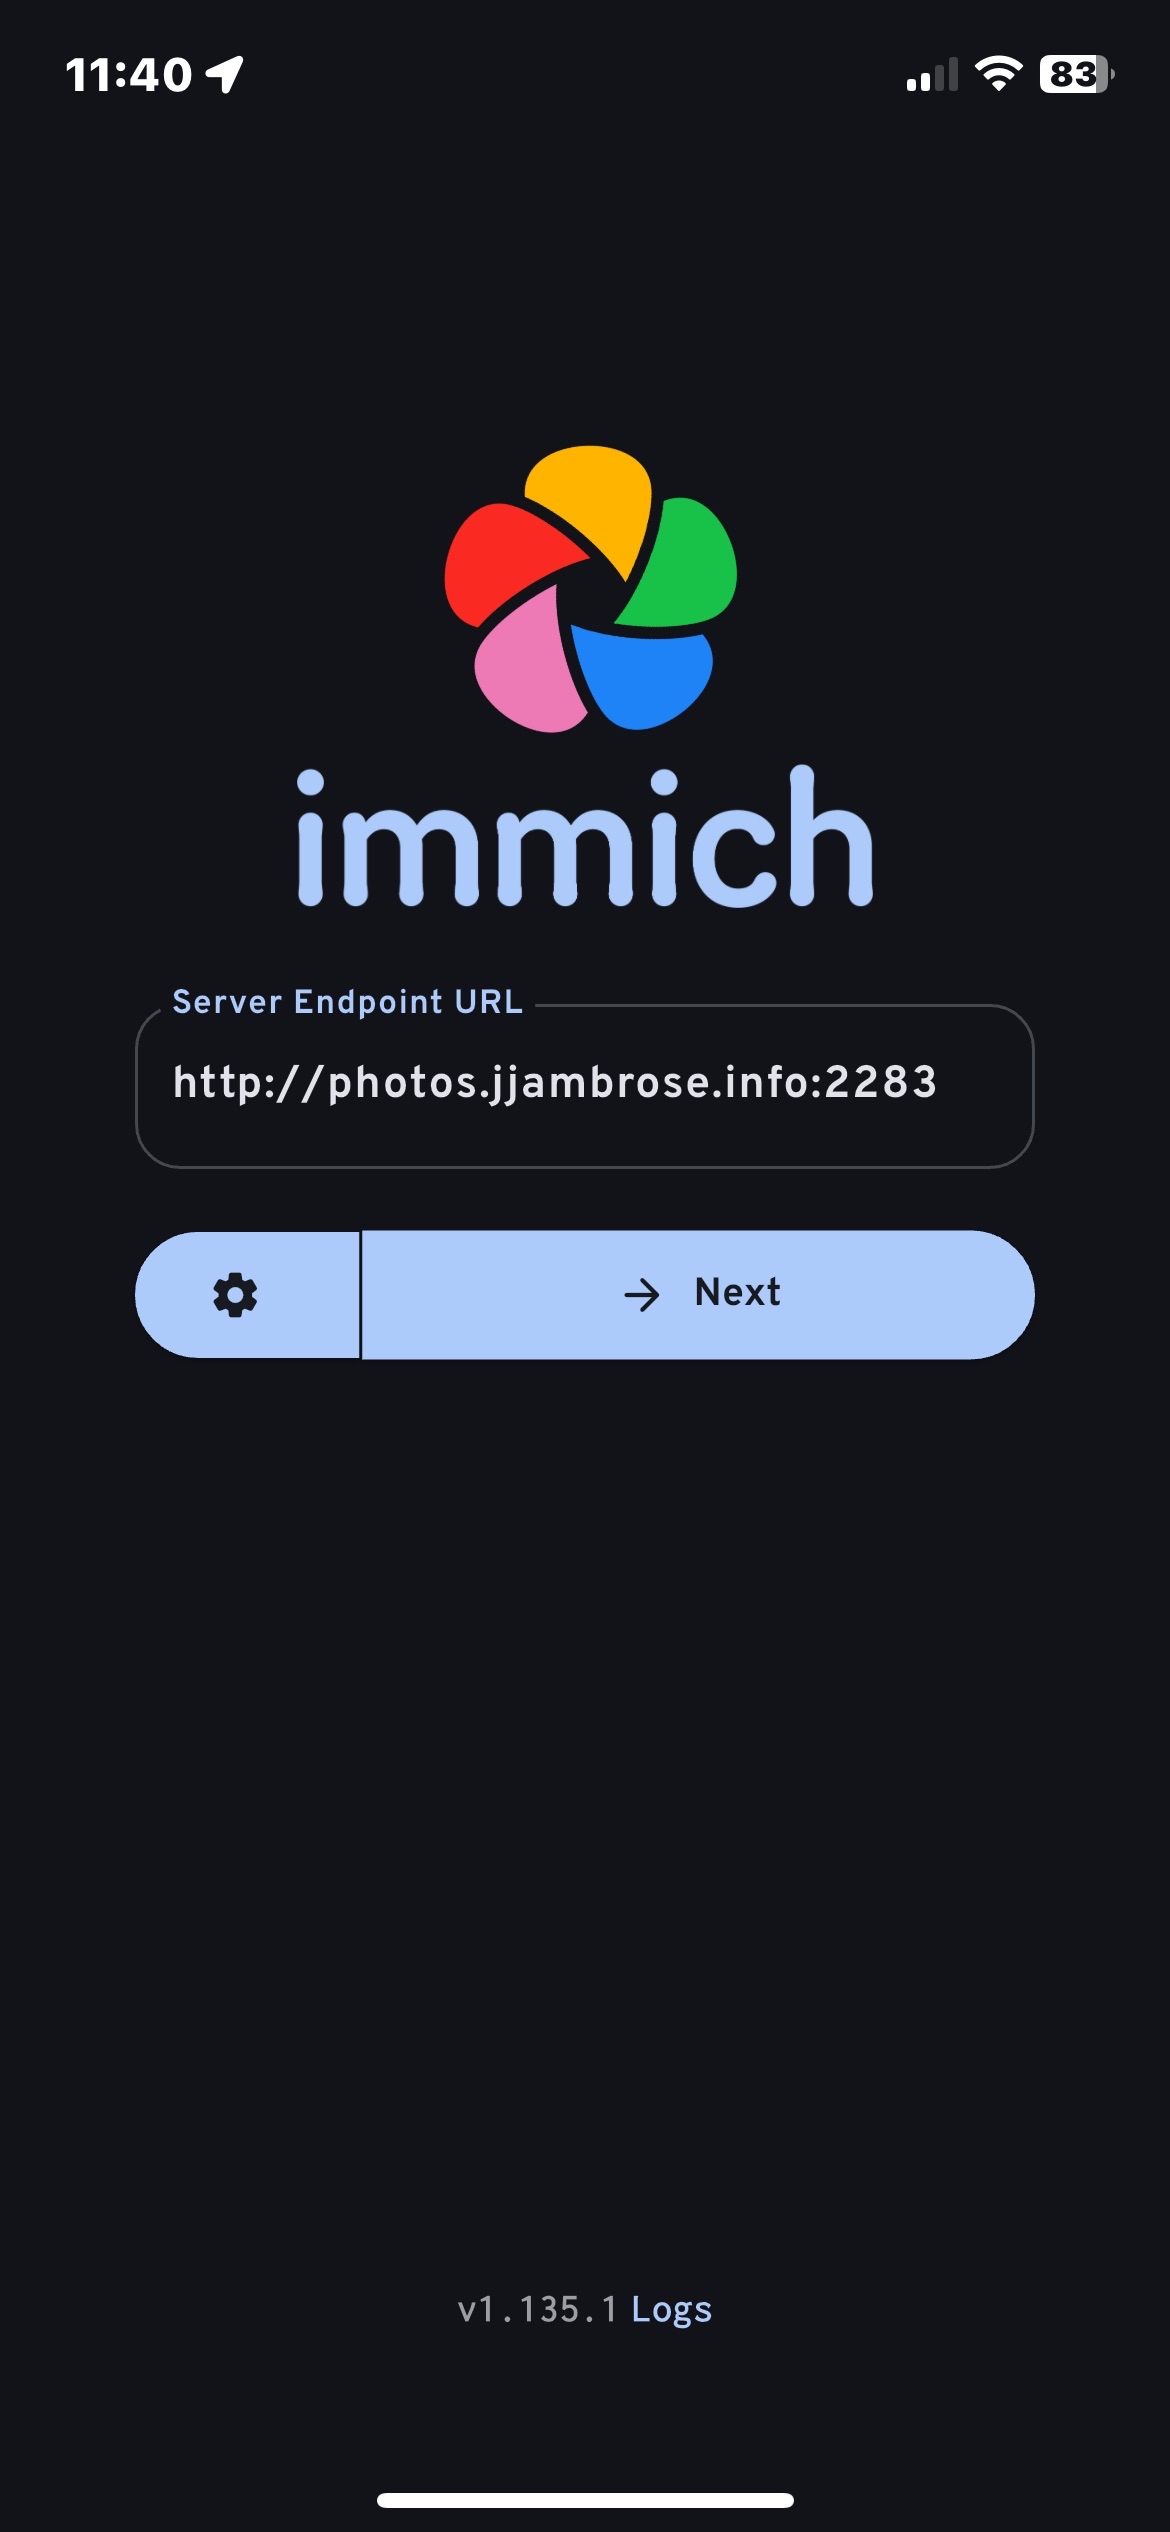
- Open the Immich app
- When prompted, enter your Immich server URL:
http://photos.jjambrose.info:2283/
- Enter your username and password
- Tap "Sign In"
tip
If this is your first time accessing Immich, you may be prompted to change your password. Follow the instructions on the login page then continue with the steps below.
Part 2: Uploading Photos to Immich
important
You should create an iOS album first, with all desired photos / videos then upload photos to it.
- Create your iOS album first, with all desired photos / videos.
- Open the Immich app
- from the
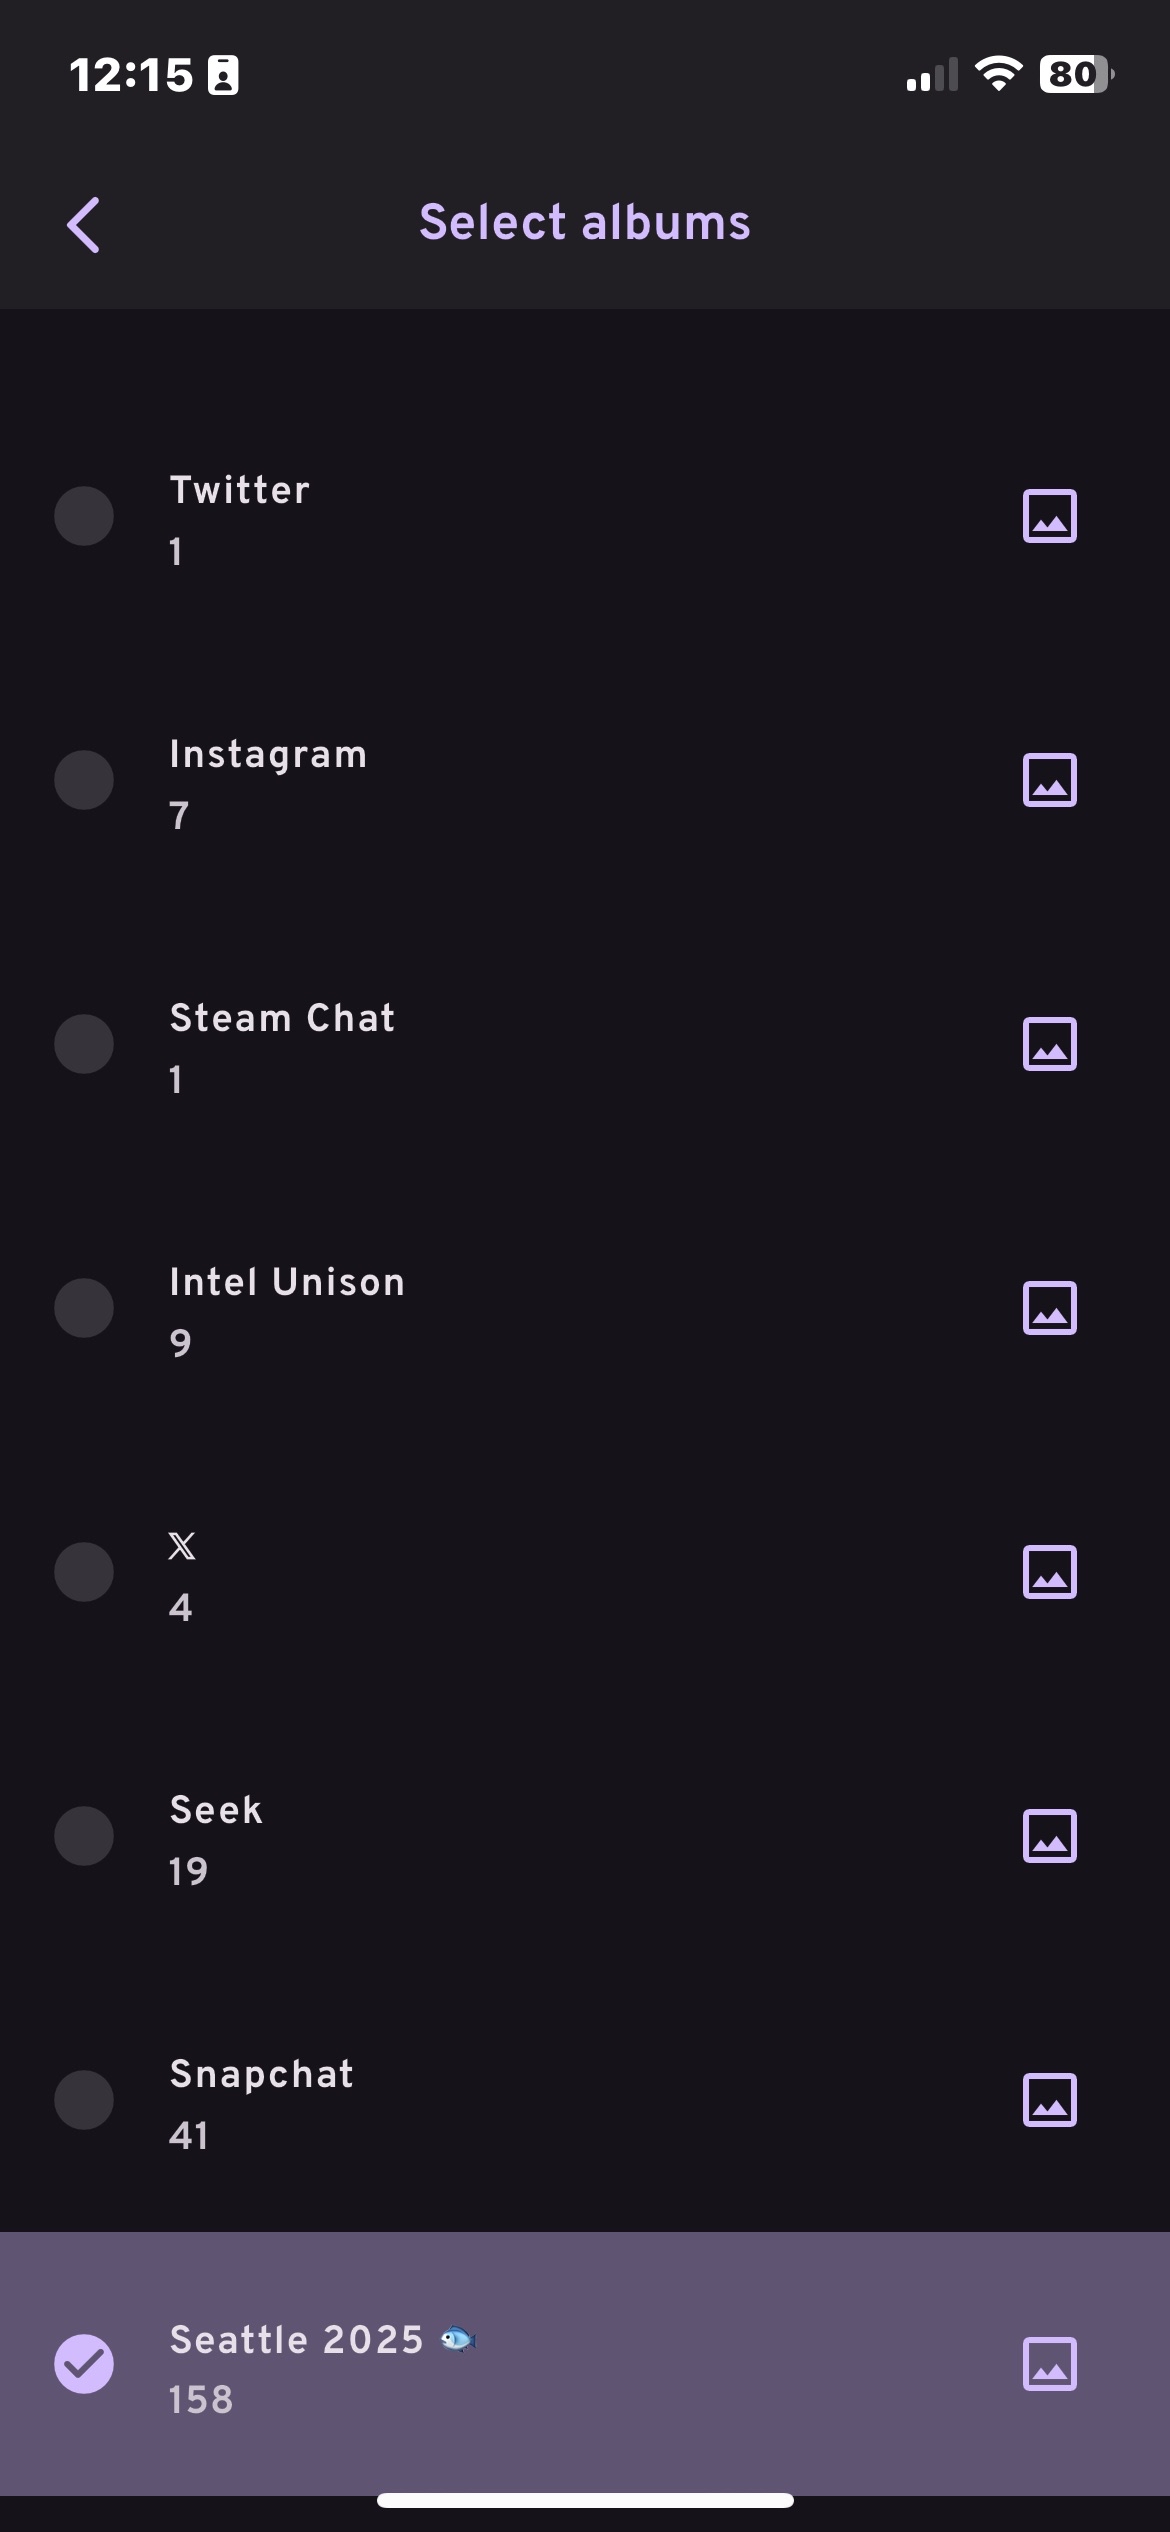
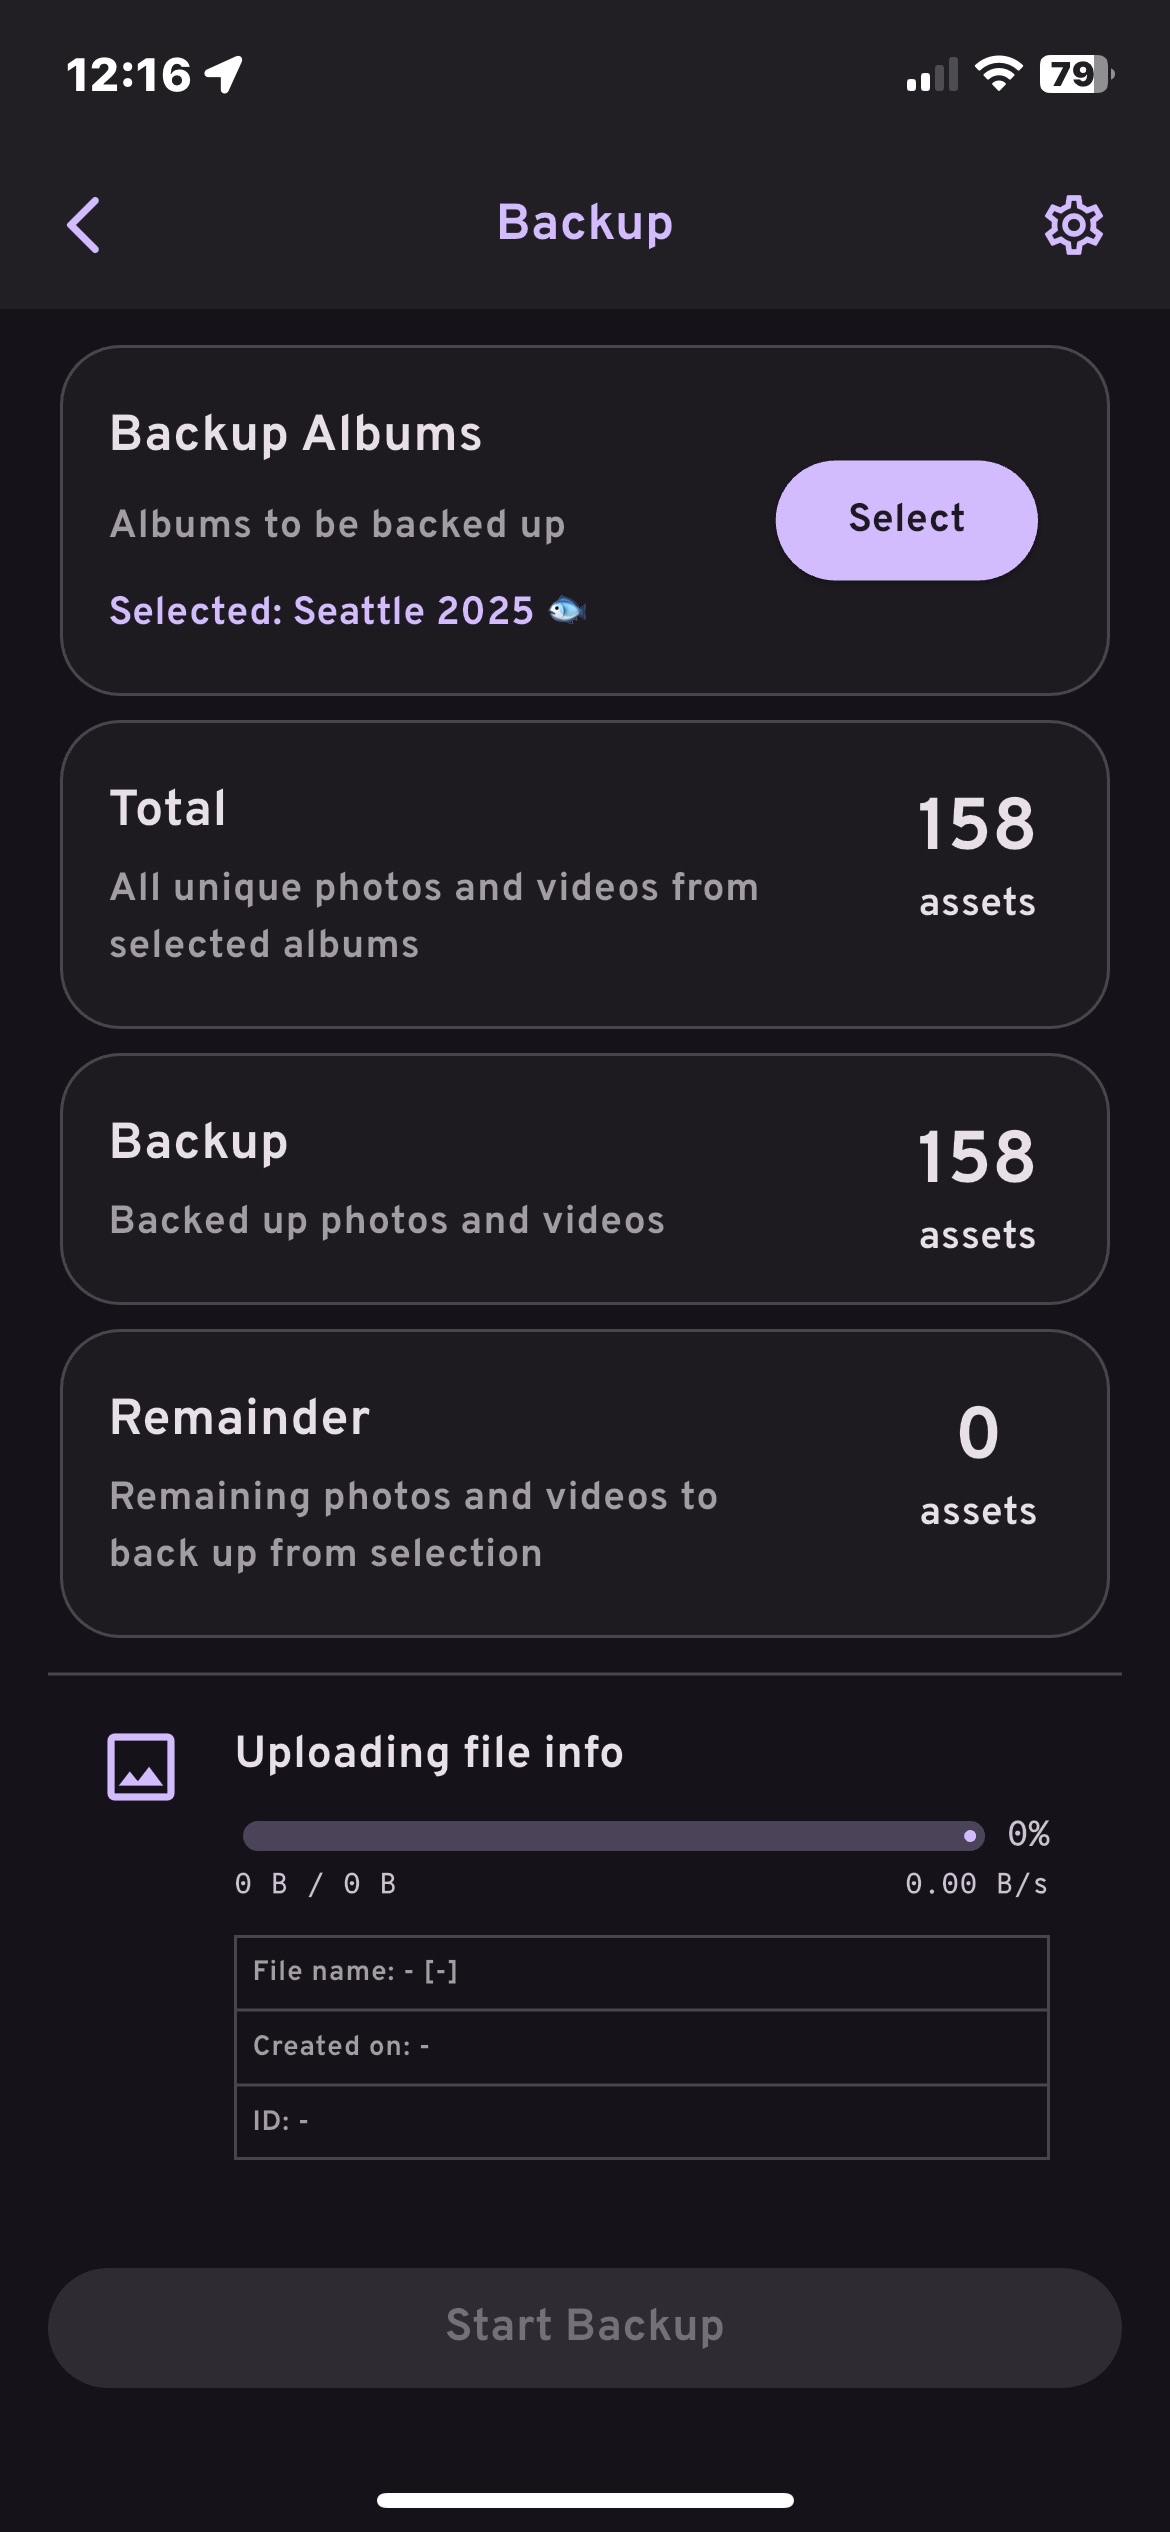
Photospane, click the icon that looks like a Cloud with an up arrow (top right corner) - You should see
Backup Albumsthis is where you can select the album you created in iOS.
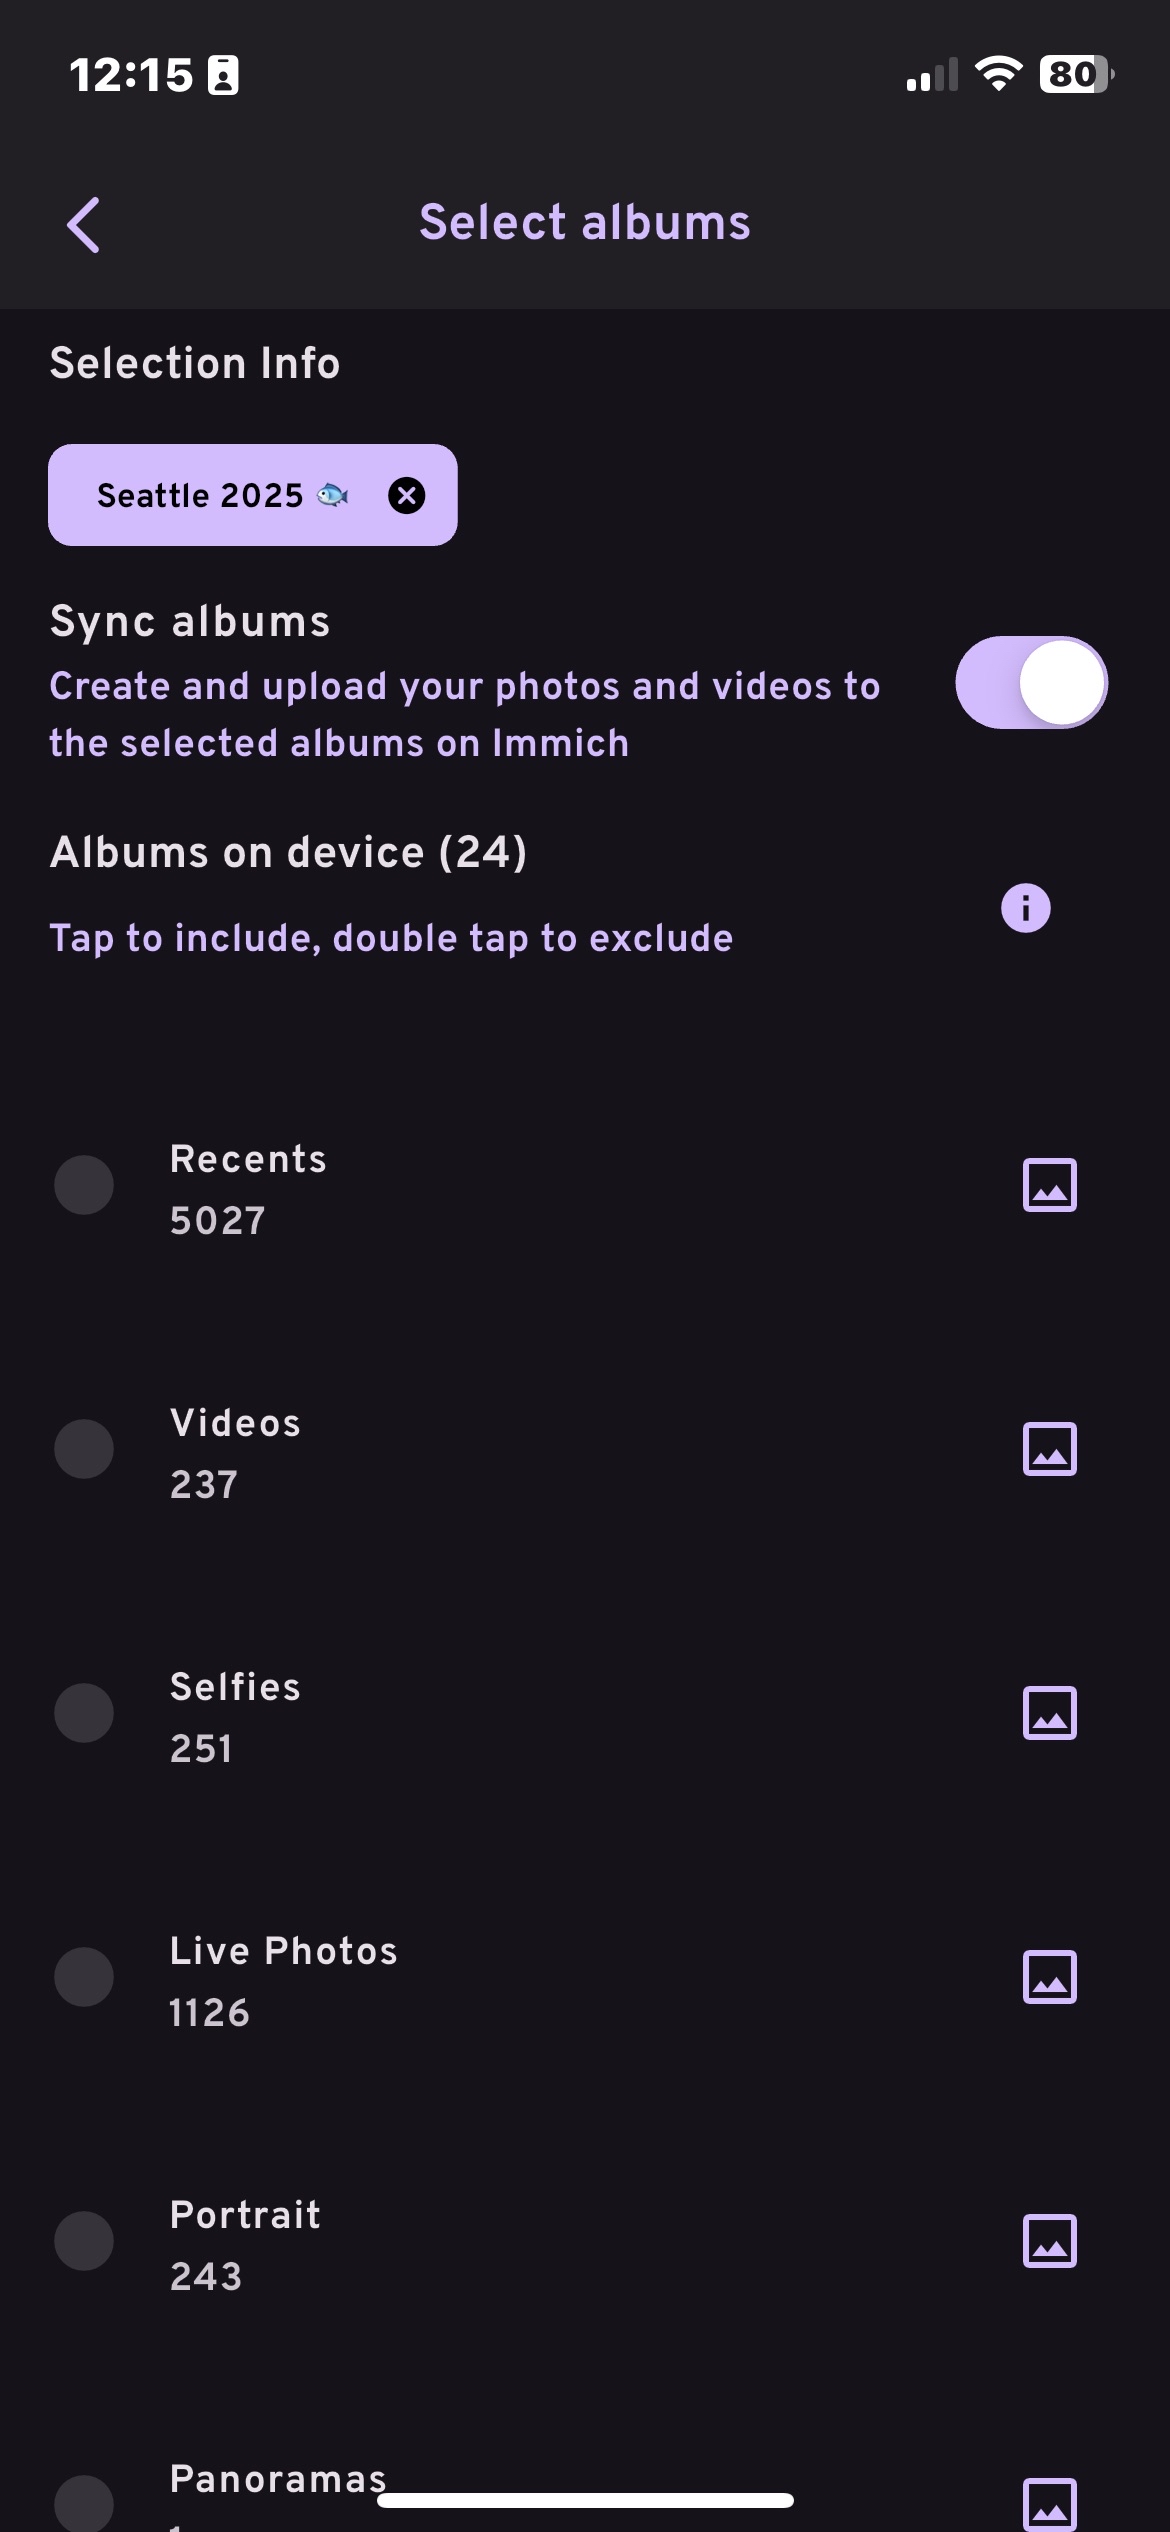
note
Sync albums is optional, I would reccomend using it but it is not required.
- Select your album. once selected, just hit back to go to the backup screen.
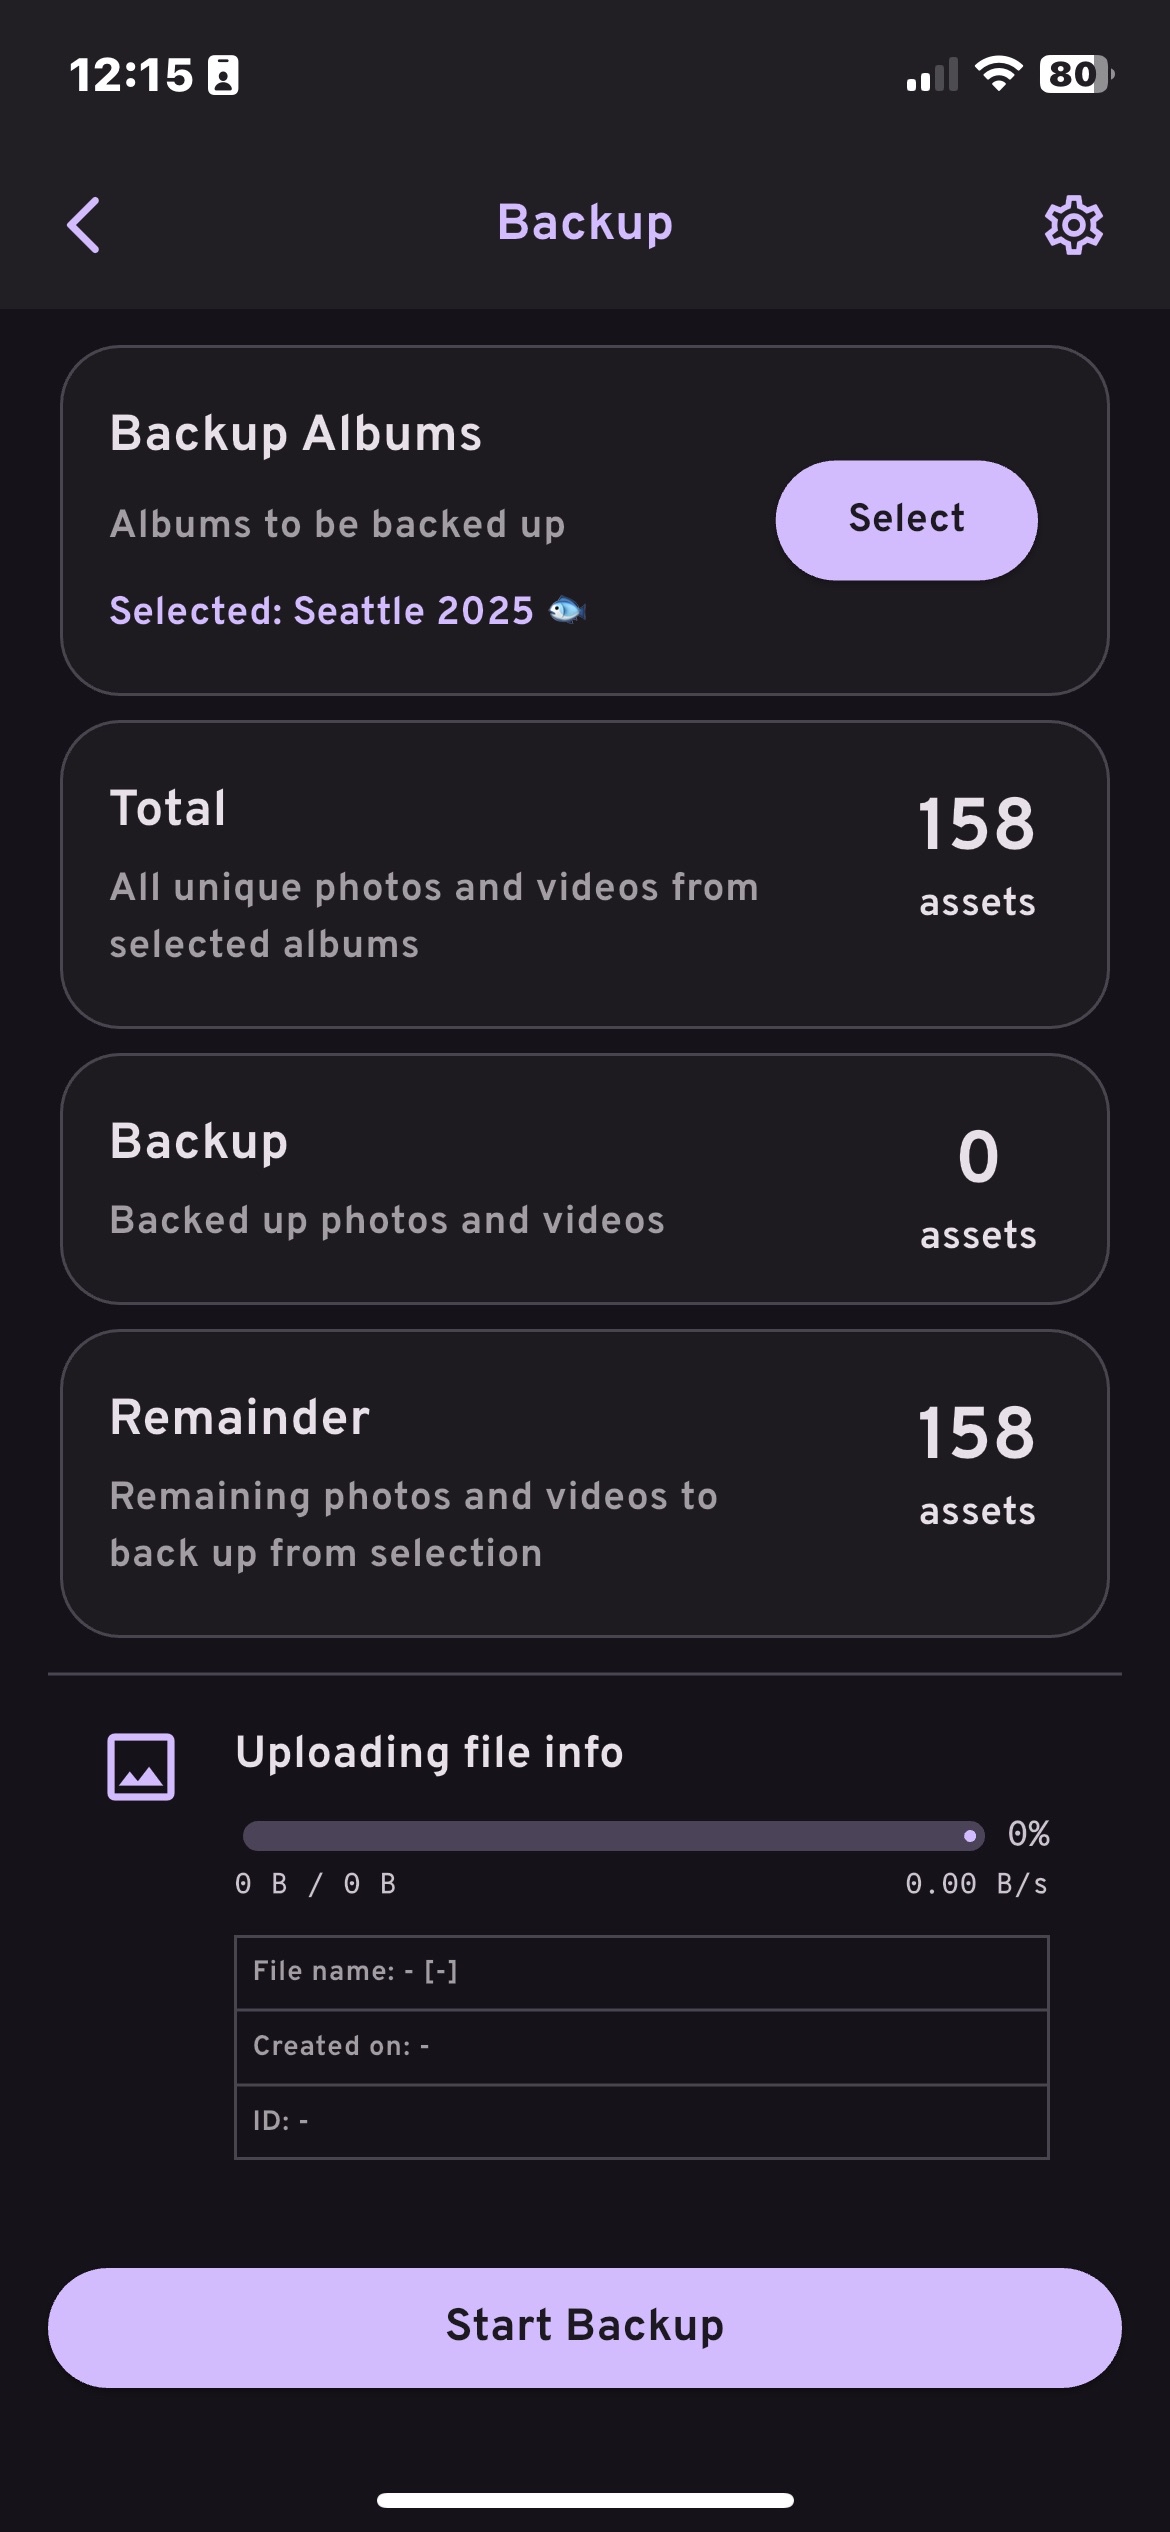
- Click the
Start Backupbutton at the bottom of the screen and wait for the backup to complete. This may take some time depending on the number of photos and videos you have.
Part 3: Uploading Photos to Shared Album
To upload photos to a shared album:
- From the bottom, click
Albums - Navigate to the album you want to upload to (I'll be using the "Seattle 2025 🐟" album as an example)
- "Add Photos +"
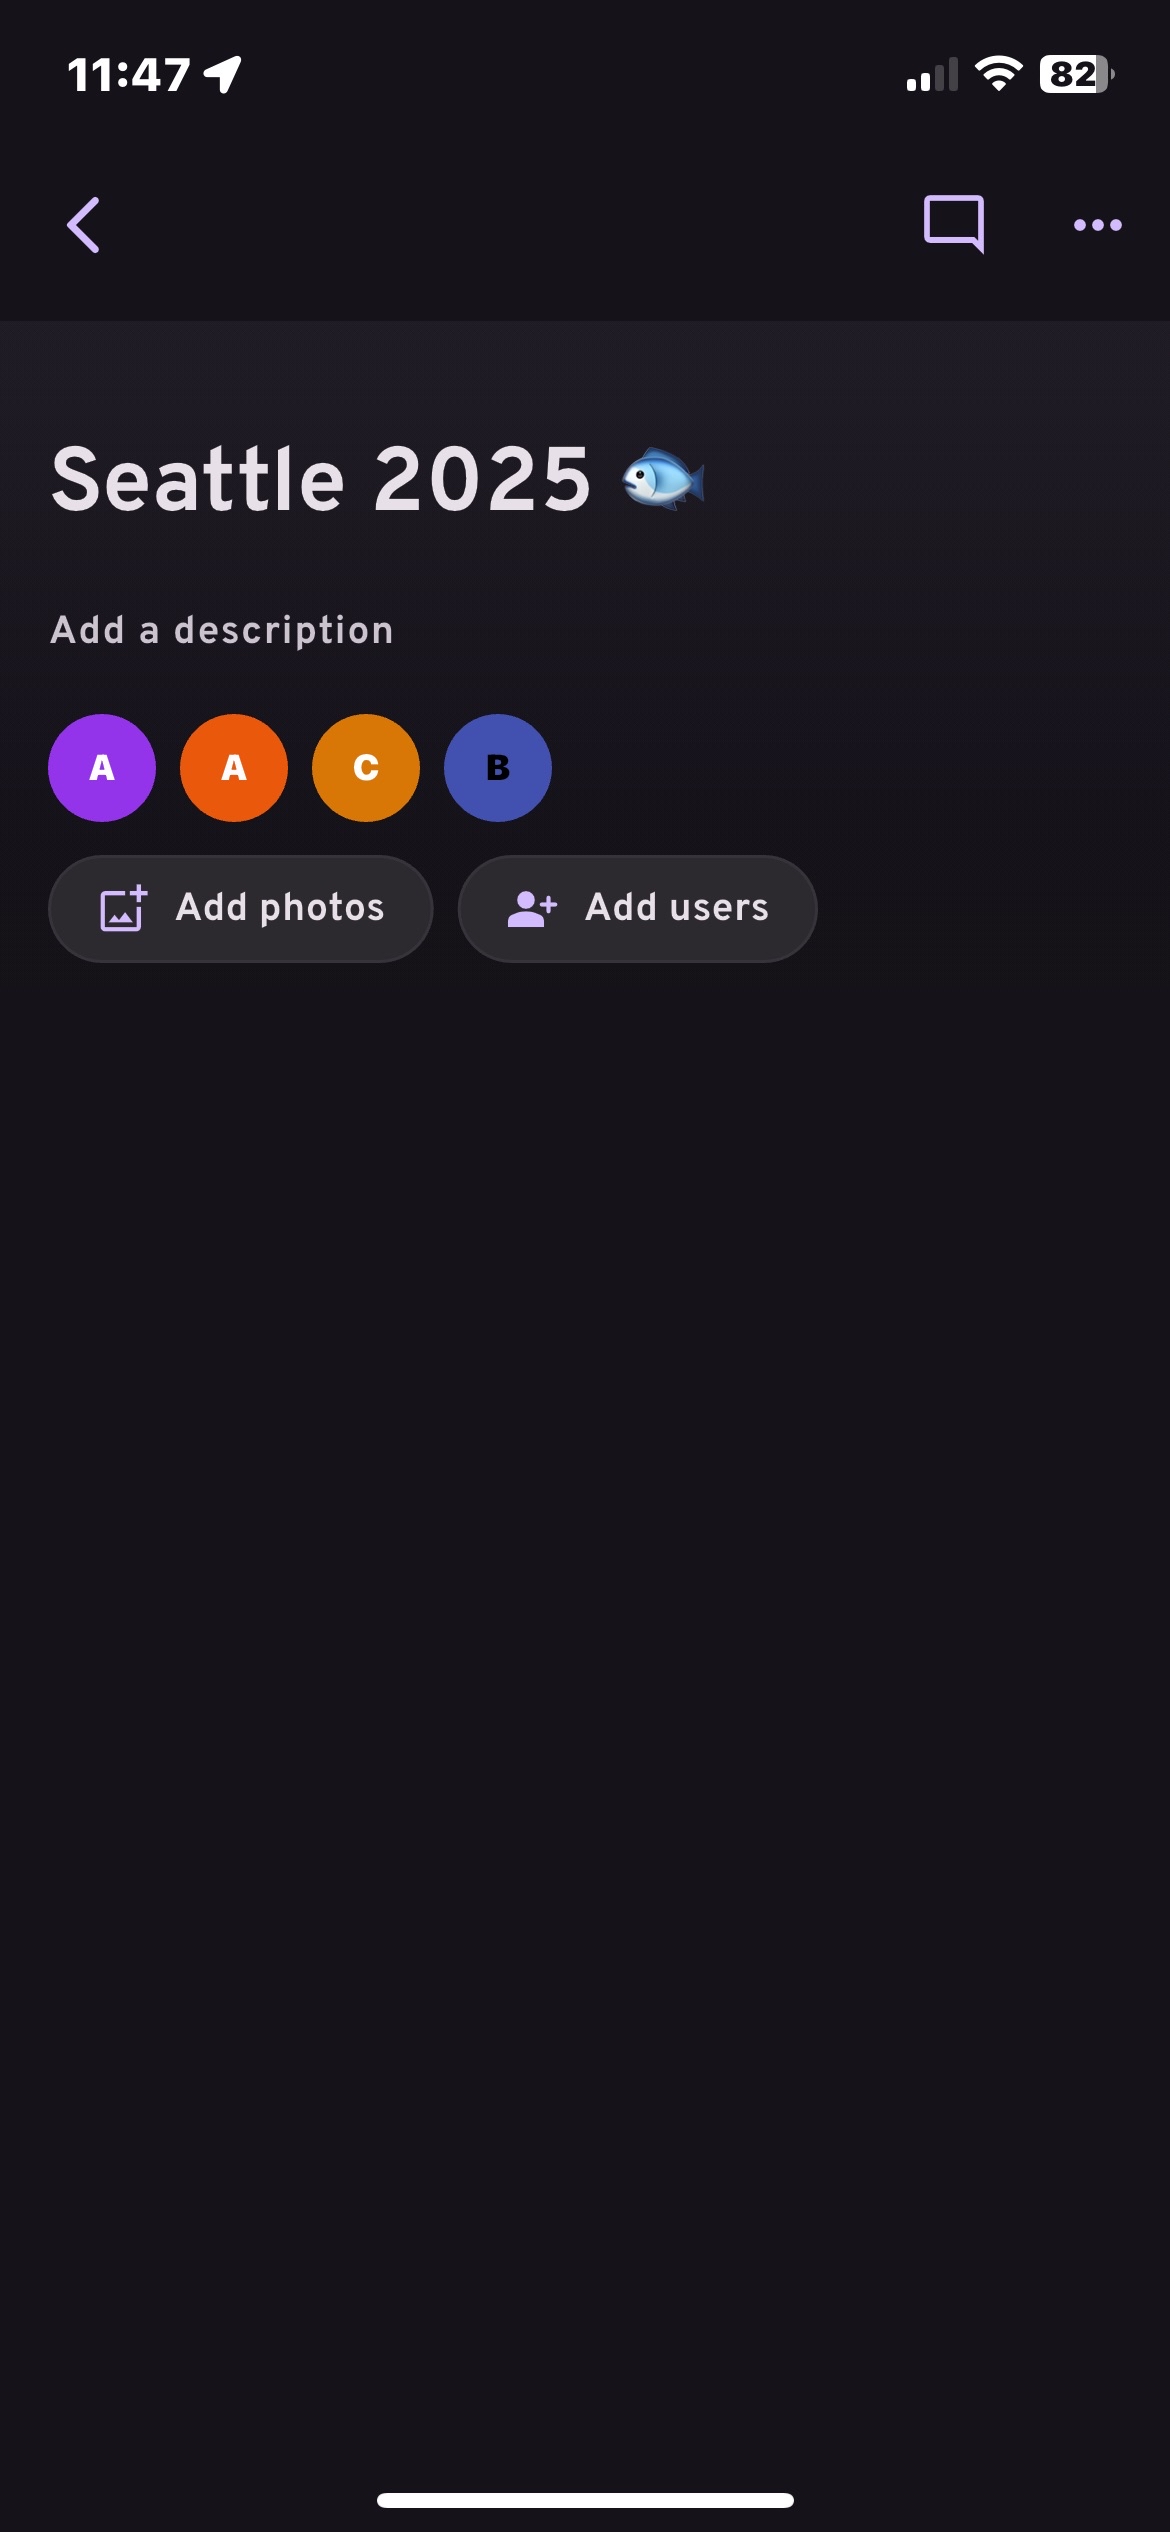

- Select the photos you want to upload